With the service " pushover " and the corresponding app (7-day test phase free of charge, afterwards just once 276 INR for Android and 321 INR for iOS ) on your (Android / iOS) smartphone or tablet can be completely through an API Simply send push messages to your devices. Desktop systems / browsers are also supported. Practically, the correct library can also be sent via the ESP8266, so you can easily design IoT devices that will notify you about pushover. Examples are, for example, notifications when your washing machine is ready when someone rings the door or when a letter is thrown into your mailbox. To present the service here,
Set up the pushover account and plugin
First you must register with Pushover. This is, of course, free of charge and easy on this site . After successfully registering and activating the account, you will get an individual user key, which you need later, via the dashboard on the pushover page. So save it to yourself or write it down, to have it at hand later.
Then open this page to create a new pushover app:
 The form should be self-explanatory, nevertheless for the orientation the values for the sample Button App:
Under "Name" you can use "Button", the type should be "other" because it is a physical device. A description you do not have to enter, also the URL you can save yourself. An icon can be created as required. This will be displayed on your smartphone with a push notification for buttone printing. The checkbox at the bottom must of course be nested to create the app. Now click on "Create Application" and your app should be created. You will now see an API token for this app, which you will also need later as well as the user token mentioned above.
You can now install the pushover app on your smartphone and log in to your previously created pushover account.
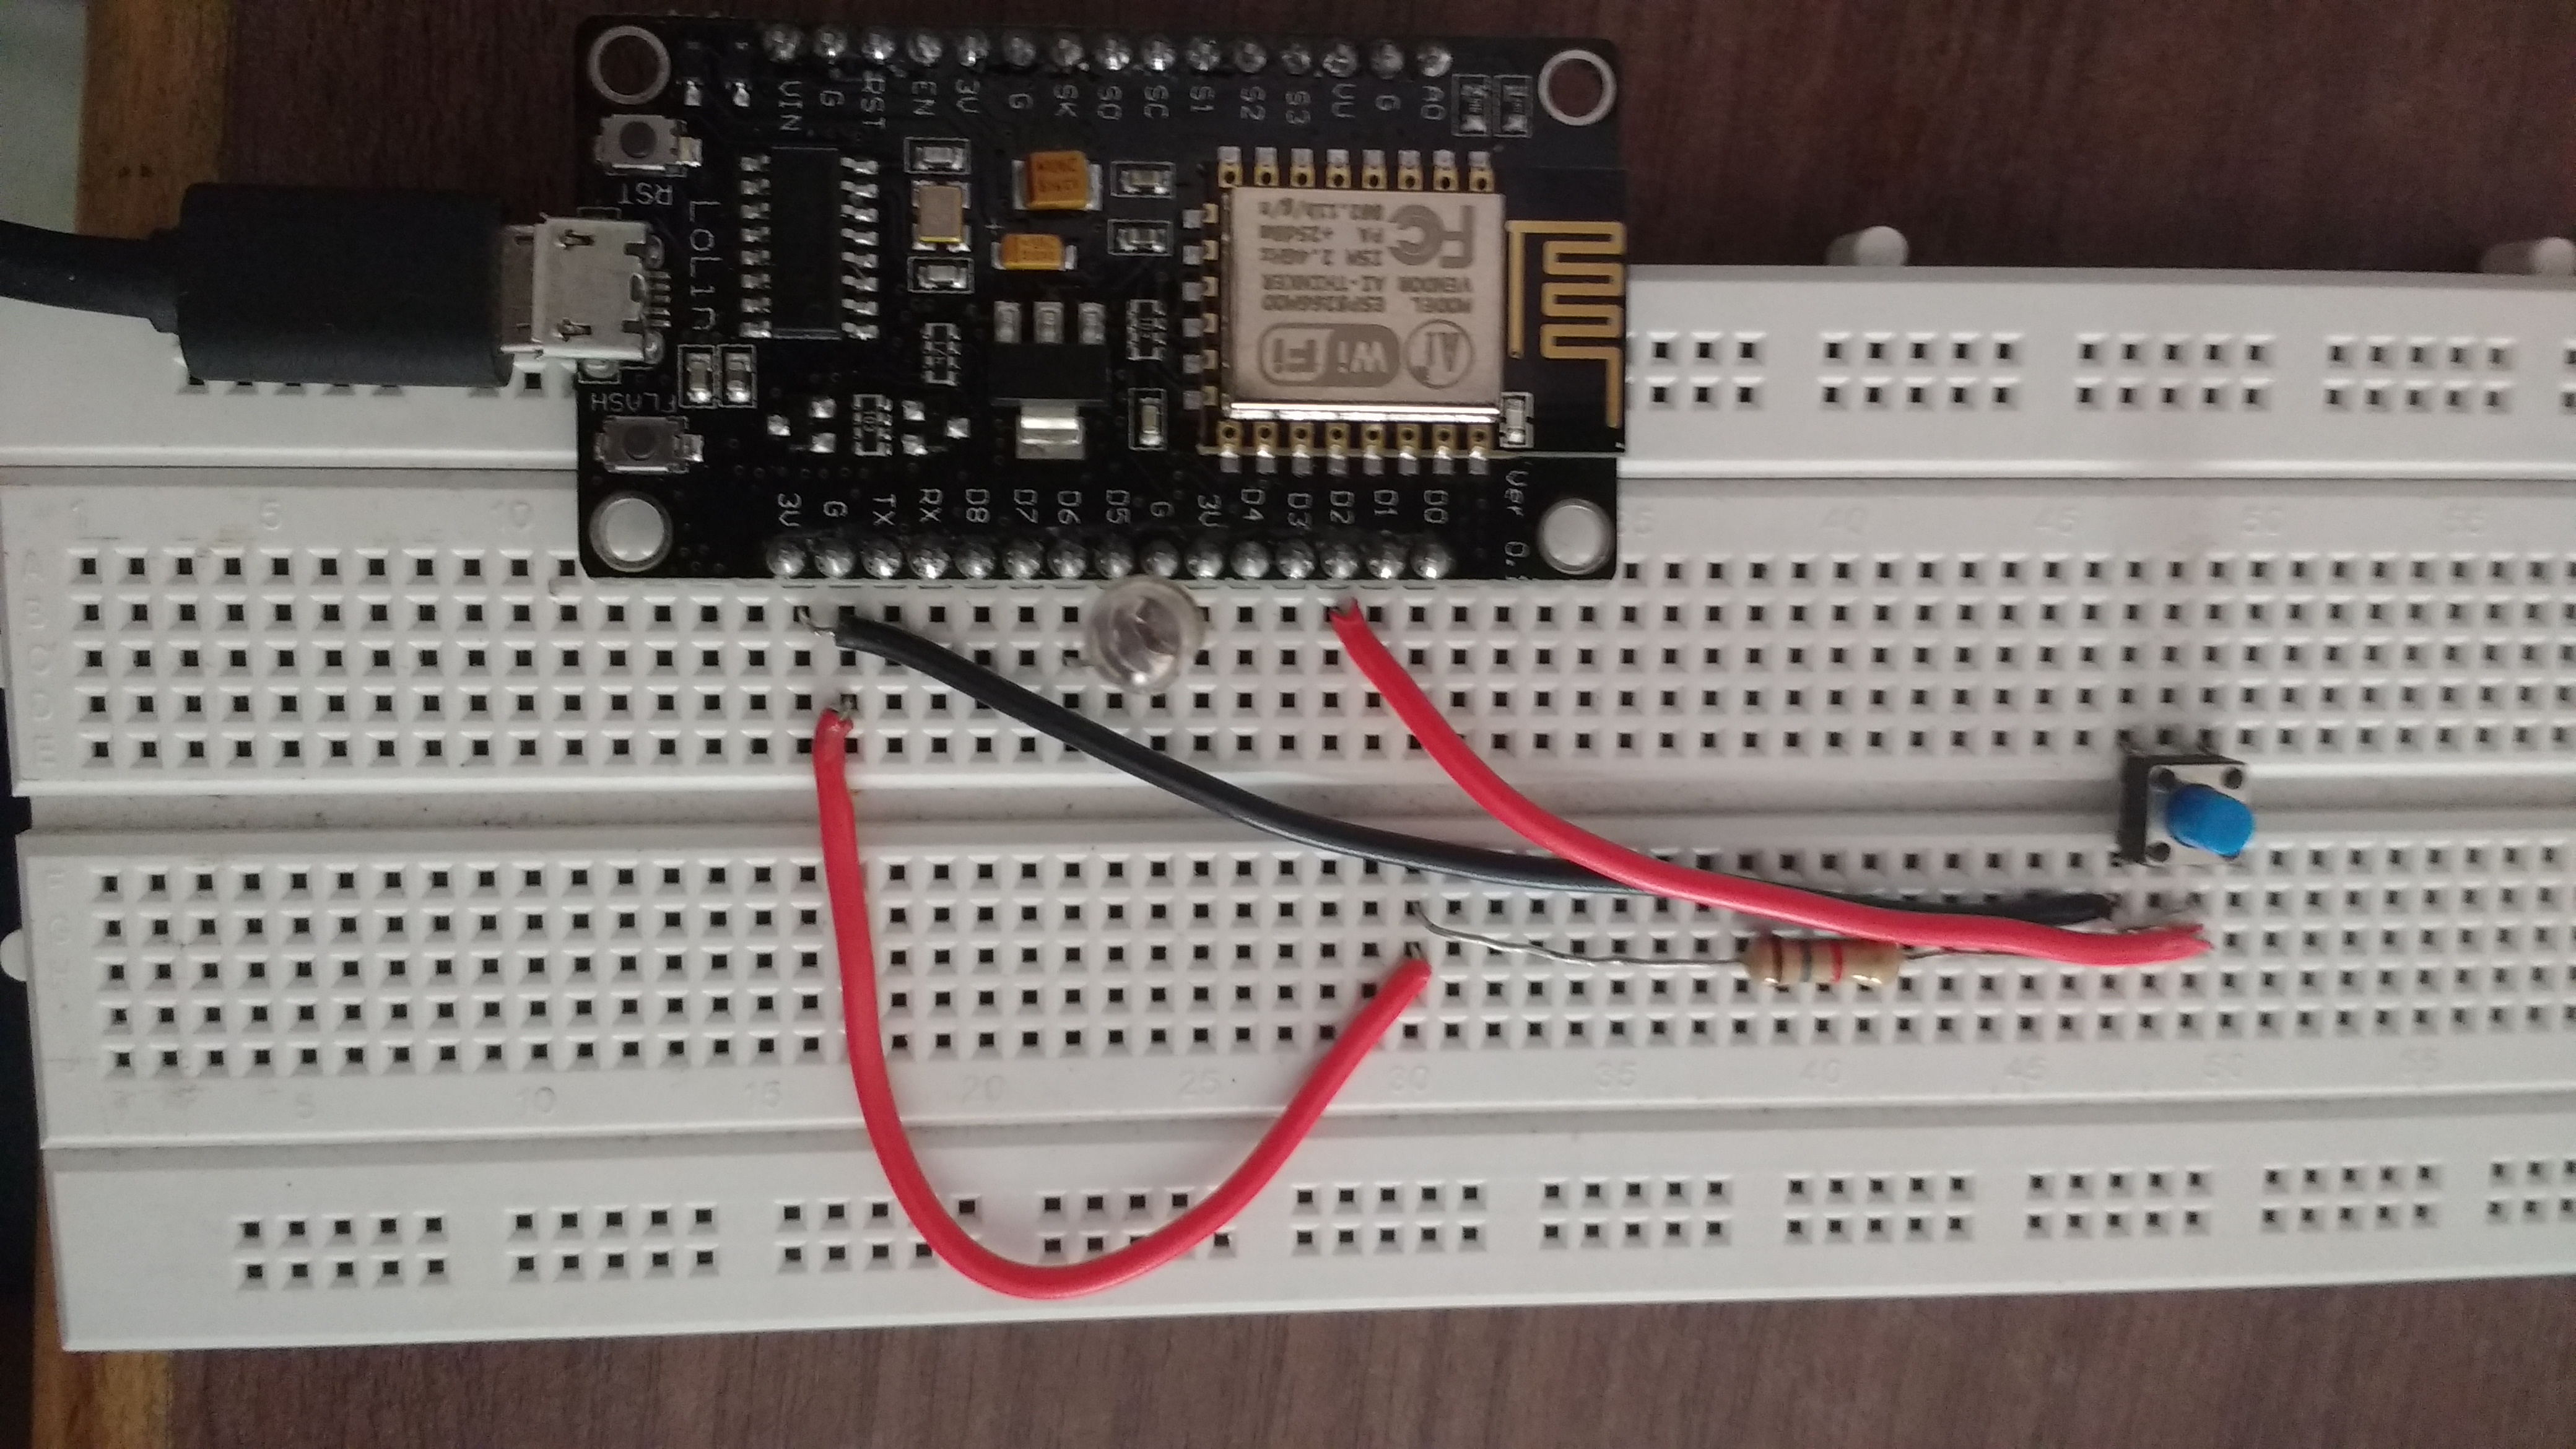
HARDWARE SETUP
 Setup
Setup
Sketch For ESP8266:
Download code from github.
As with most projects with the ESP8266, I also use the Arduino IDE with the appropriate ESP8266 addon to fill the NodeMCU board with software. Setting up the development environment ", so I refer to this point if you have not already set up the environment for the ESP8266 on your computer. To communicate with the pushover API, there is an easy-to-use library that you can find in this GitHub repository . How to install the library in your Arduino IDE can be found on this documentary page of Arduino.
Now you can compile this sketch and transfer it to your board.
 CODE part a
 CODE part b
In addition to your WLAN data, you have to enter your user and API key in the pushover variable "po".
Push notification on your smartphone:
If you now press the button, you should pop up an appropriate notification on your smartphone. With me it looks like this:smart phone
Setting up push messages from the ESP8266 to the smartphone is very easy thanks to the pushover and existing libraries to communicate with the API and can be integrated in many projects.